The UESPWiki – Your source for The Elder Scrolls since 1995
|
|
|
|
|

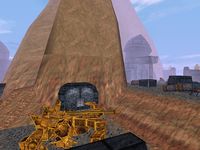
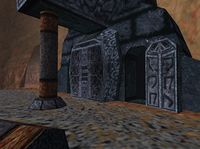
The entrance to the Dwarven Ruins
|
Quick Walkthrough[edit]
- Buy the book Dwarven Lore at J'ffer's Books.
- Go to the Dwarven Ruins and use the book to open the door.
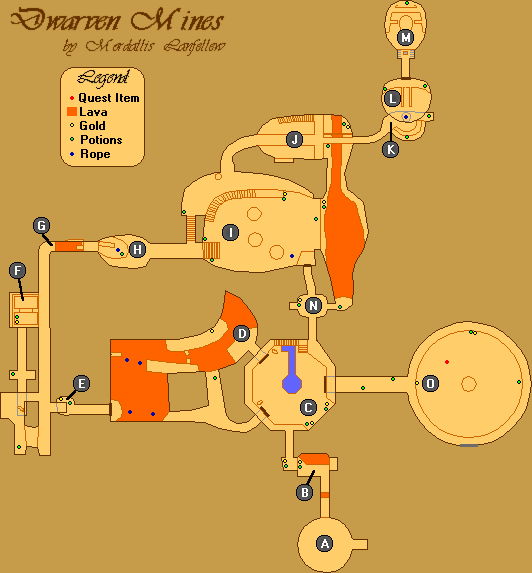
- Reach C then go through the northwest door and pull the lever across the lava.
- Travel to J via the hallway starting at E.
- Shoot a bolt across the lava river. Use it to cross the broken bridge and reach the scarab puzzle at M
- Solve the scarab puzzle and leave the ruins through the scarab door at L.
- Activate power in the ruins by solving the Dwarven steam pipes puzzle.
- Turn on the power machine and create a path over the "flowers" using the wheels.
- Close the juncture pipes from the wheels in the south towers. Fix the southern pipes to point outward.
- Re-enter the ruins, turn the wheel at N, and reach M.
- Destroy the Dwarven mechanical giant and retrieve the Dwarven gear it drops.
Detailed Walkthrough[edit]
- Outside the Ruins
- Before you enter the ruins, you need to buy the book Dwarven Lore for 54 gold at J'ffer's Books. This will allow you to decipher the runes on the main door and open it.
- With the book in hand, head to the Dwarven Ruins southwest of the city. The easiest way to get there is to use the shrine of Kynareth near Gerrick's Goods. There is a shrine in the mountains just northeast of the ruins which allows you to bypass six of the nine guards outside. If you'd rather walk, follow the beach around Hunding Bay until you see the Arkay fertility statue. A hostile veteran guard is nearby. Make your way up the path around the mountain. You will encounter a veteran and elite guard patrolling together, another veteran guard further up, and two veteran guards patrolling under the bridges on the north side of the mountain. This is where you merge with the path if you used the shrine.
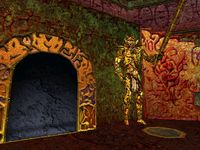
- Not far up ahead is the Dwarven Ruins' exterior. Two metal figures flank the entrance to the courtyard and a No Trespassing sign is posted on the wall. Three more veteran guards protect this area from intruders. The actual door to the ruins is in the lower courtyard with the ballista. You can pull a lever to fire the ballista, though it does not damage anything. Also, left of the door are two gold pouches by some artifacts. You can look at the artifacts and Cyrus says, "Dwarven artifacts. I wonder what the Imperials hope to find."
- Without the book as your current item, you can only look at the door and Cyrus comments, "It's covered by what I assume is Dwarven writing." Otherwise, you can translate the Dwarven writing and he says, "Shahbth ih awerk. Stuh ndah bthahhrk. Awerd sheh ahhmmzrteh." The door opens and you can enter.
- Point A — Red Gem Room

A: The Imperials have taken casualties searching the ruins
- Through the dark tunnel, you come into a room with a large red gem high up on the ceiling that makes a strange noise. Rubble from four pillars is scattered across the floor and two dead infantry guards lie against the pillars. Be sure to avoid the four brass pads on the ground, which trigger the red gem to fire a laser at you for 10 damage.
- Climb on the northwest pillar by jumping from the nearby rubble. From here you can jump up to hang from the brass ledge with red writing. Move to the right and climb into the mine tunnel that starts on this room's north side. Watch for the lava pit inside the tunnel.
- Point B — Dwarven Mines
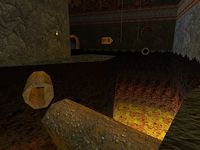
- You come across an overturned minecart and a broken track for it up above a large lava pit. There is a health potion and some gold in the west on the lower level of this room. Climb onto the minecart to reach the track and then jump across the gap. There is another health potion and some gold on the left. Go through the north tunnel to reach C.
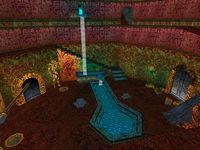
- Point C — Dwarven Statue Room
- The next area is a large octagonal chamber with a ledge wrapping around most of it and a higher ledge in the northeast. Drop from the tunnel to the south side of this ledge where a veteran guard is patrolling. With him dead, walk along the ledge to the ground level and kill the other veteran guard. There is a waterfall pouring down into a pool in the center of the chamber. By a pile of rubble in the southeast corner is a health potion and gold pouch. Behind the rubble is another health potion and three gold pouches, along with two strength potions and a potion of ironskin.
- All three doors are closed at the moment. Either of the two western doors can be opened by standing on the brass pad next to the nearby statue. The arm holding its sword will rise as you stand on the pad and eventually fall, opening the door for a brief time. Be careful because the sword will damage your health 50 points if you are directly underneath it. The doors have levers on the other side to open them again briefly. Go through the northwest door first.
- Point D — Lava Room

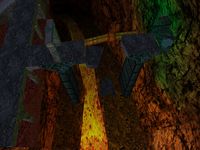
D: Broken pipes above lava
- This next area has plenty of lava to fall into, with only a few small ledges and ropes to get around.
- Swinging from a rope is not as unpredictable as jumping once you understand how it works. To start swinging, alternate pressing the left and right arrow keys. The more you swing, the farther you can jump. You can change direction by holding shift with the arrow keys, but this is not often necessary. The up and down arrow keys move you up and down the rope, respectively. Note that you cannot drop from the rope this way. Sliding to a point just above the bottom is typically the best position.
- First jump over the gap and pick up the gold pouch. Continue west to the broken pipe and carefully jump to the other side. You'll have to get to the small pipe extending out of the wall in the northwest corner using the two ropes. Pull the lever there, which opens the door to E, and retrace your steps back to C.
- Open the southwest door this time. There is an infantry guard in your way and some more rubble. You can find a health potion on the ledge that branches north. Use the two ropes to reach the door you opened earlier.
- Point E — Long Hallway
- The tunnel beyond appears to be a dead end with a health potion and some gold. However, there is a hole in the ceiling to a corridor above. Face north and jump to the ledge, but be prepared to fight an infantry guard. A veteran guard patrols the room to the west, which can be accessed either from the north through a hallway or from the south over a pile of rocks. A health potion can be found by the rocks, but watch out for a crack in the floor dropping into lava.
- Point F — Pumps
- As you head north through the hallway, you can see two pumps on the left. Optionally, you can drop down to their base and find a health potion and gold pouch in the southwest corner. Explore the corridor leading south; a small holding cell will open and a Dwarven centurion will spring out to attack. The cell contains three health potions and a strength potion. An empty cell is on the opposite wall and the same lava pit from the previous room cuts through the end of the hallway.
- To get back up to the main hallway, climb onto the middle ledge from the pipe coming out of the northern pump; this ledge wraps around to where you can reach the hallway again.
- Point G — Lava Pit
- As the long hallway turns right, you come across a lava pit. The pipe on the other side might seem to be close enough for a jump, but it is just far enough to be impossible. You must drop down to a narrow ledge below and then hang from a crack on the south wall. Move all the way left, drop to a small platform, and jump across the pit to a ledge on the north side. From here you can climb back up to the hallway.
- Point H — Dwarven Diagrams
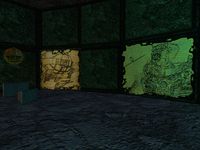
- The hallway ends and a rock bridge descends to an oval-shaped room. There is a rope going up and a health potion on the ground. A veteran guard waits for you at the top. You can look at two Dwarven diagrams on the wall here, one of a dirigible and another showing the dungeon's boss, the Dwarven mechanical giant. Continue east through the wide hall.
- Point I — Steam Machines

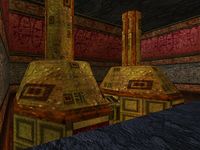
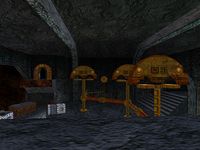
I: The deactivated steam machines
- This is a very large room with lots of deactivated machines and rubble lying around. You may want to explore the bottom area first before going north. The only enemy down there is a veteran guard. You can find a health potion on each side of the staircase leading down, another one with a gold pouch under the northern platform, and a strength potion in the rubble to the east. Drop down to the lava river east and follow the path down to find a health potion and gold, another health potion farther along, and a strength potion and gold across the lava.
- Now backtrack to the large room and use one of the staircases to reach the upper area. A health potion sits in a corner at the top of the western stairs. Ignore the steam machines for now and follow the hallway to J. You'll notice a Dwarven centurion in sphere form here.
- Point J — Broken Bridge
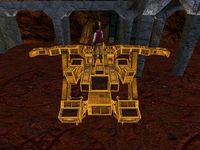
- You come to another large room with a bridge extending over the lava river and several Dwarven catapults, also called "Dwarven walkers", below the raised platform you're on. There is a veteran guard patrolling this room. If you try to cross the bridge, a short cutscene will show it collapse. With the easy route destroyed, you must go down the stairs. A lever on the south wall can load a bolt into a catapult and you can fire that one, but it has no effect.
- On the lower level, a pipe crosses over the lava, but the jump from the pipe to the far side of the bridge is still too long. To fix this, fire a bolt from the catapult facing that direction. With the bolt in place, you can walk across the pipe and jump to the bridge using the bolt as a halfway point. You may need to stand on the rock supports to successfully reach the bolt.
-
-
-
The bolt creates an alternate path
- Point K — Meeting Chamber

K: Meeting chamber with more diagrams
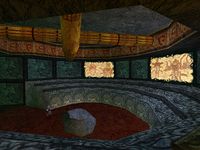
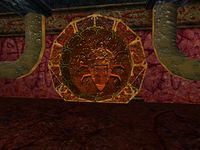
- You'll see another deactivated Dwarven centurion in the hallway past the broken bridge. You emerge into a meeting chamber with a circular set of seats around a stone table; Dwarven diagrams depicting a scarab are posted on the walls. A veteran guard and a third Dwarven centurion can be found here. There's also two health potions, one in the eastern alcove and the other on the seats. Climb up the rope to L.
- Point L — Scarab Door
- This room has three health potions in the west on the lower level and one more up the ramp and to the east. You cannot open the door with the scarab symbol on it until completing the puzzle described below. Instead, go through the door below to M.
- Point M — Scarab Puzzle
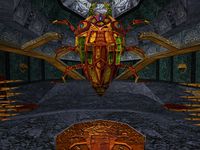
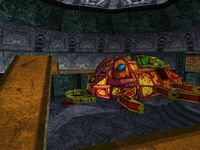
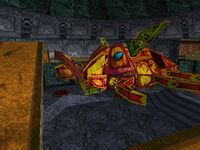
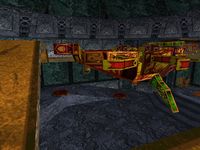
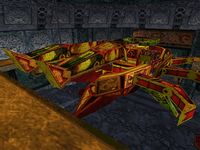
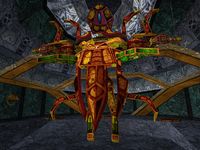
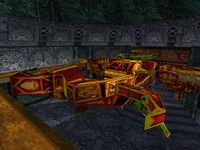
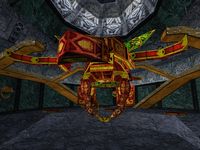
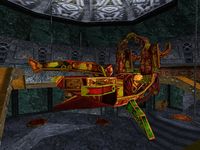
- This room has a large mechanical scarab beetle sitting in the middle of it. You can find two health potions on the room's north side. A catwalk surrounding the scarab may help you reach certain parts of the scarab you need to pull to complete the puzzle. The five red platforms around the room are elevators that take you up to the catwalk.
- The puzzle consists of several parts:
- Scarab Button: This button is between the door and the scarab. It flips the scarab back and forth.
- Chains: Three chains hang from the ceiling.
- The north chain opens the scarab door at L but only when it is pulled: the puzzle is solved when the scarab pulls it for you.
- The east and west chains extend the spikes near the scarab button, which have already impaled three infantry guards. You need to avoid standing on the button when the scarab pulls these.
- Scarab: The scarab itself has several parts. To activate any of these, simply jump on them from the catwalk.
- Head: Pulling this out also opens up the wings.
- Legs: When these are pulled out, the scarab will stand rather than lie on its front side.
- Wings: Stepping on these when they are open and the scarab is standing will pull out the arms.
- Arms: These are what pull the chains. They can be affected by gravity. While they are in their extended state, they will pull the two side chains, triggering the spikes by the button. When affected by gravity, they fall forward and can pull the north chain.
- The solution is as follows:
- Press the scarab button twice to flip the scarab face down.
- Stand on the middle catwalk and fall on the pincers to pull out its head.
- Press the button again to flip the scarab on its back.
- Do the same maneuver as you did for the head to pull out its legs.
- Press the button to make the scarab stand up.
- Use the side catwalks to jump on the green wings, which releases the arms.
- Press the button again so that you can push the legs back to their default position. Step off the button immediately to avoid the spikes.
- With the legs back in, you can press the button to flip the scarab on its front, causing the arms to fall forward.
- Flip the scarab and pull the legs out once more.
- Press the button and the scarab stands up and pulls the north lever, keeping the door at L open so long as the scarab stays in this position.
- Point L — Dwarven Steam Pipes
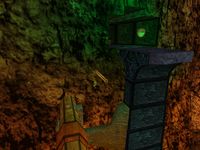
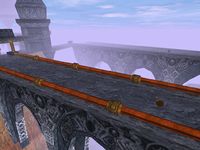
- Return to L and enter the opened scarab door. This exits onto a balcony that connects to the two bridges crossing a pass in the Ogres Tooth Mountains. You can take either bridge across: both of them are guarded by a Dwarven centurion that springs to life in a short cutscene. These bridges lead to the Dwarven Ruins' steam and gas harvesting system, which powers the mechanisms and guardians within.
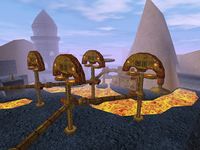
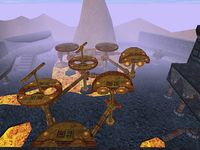
- The steam pipes area has a few lava lakes and four towers, two on each side. There are six pipes above the lava that connect to seven nodes, each with a structure on top that can fold out into a circular platform (or "flower"). A wheel controls each pipe, three on the west side and three on the east. The towers farther away each contain a wheel and the southeastern one is in a hallway, but the others are outside. The goal here is to turn on the power and send it to the ruins' interior to turn on the steam machines at I.
- First, jump over to the power machine on the north side. This is a difficult jump, but possible if you start at one of the little islands of rock nearby. Turn the wheel and the machine's arms will lower into the lava, which starts the steam flowing into the pipes. You can use these arms as an easy path back over the lava. The flowers above the nodes open halfway when one pipe is connected and fully with two. The quickest way to create a path with the flowers is to turn the wheels in the southwest, southeast, and east.
- Go back to the power machine, climb on top to reach the first flower, and jump across them to the southern towers. Turn the wheels in these to close the small juncture pipes. Finally, turn the southwest and southeast wheels again to connect the pipes back to the ones on the bridges. A short prerendered cutscene shows the steam machines turning on inside.
-
Bridge to the Dwarven steam pipes
-
Initial configuration of the steam pipes
-
A complete path over the pipes
-
Closing the juncture pipes
-
- Point I — Powered Steam Machines
- Return to this large room. The three Dwarven centurions you encountered between I and L will now attack when you approach them. At I, the three steam machines in the middle of the room should now be functional. Use these and a chain hanging past the last machine to reach the door in the southeast corner of the room.
- Point N — Last Wheel
- The next room was once a four-way crossroads, but the west door has collapsed. A Dwarven centurion guards the center of the room. Next to the west door are two gold pouches and a potion of ironskin. The east door leads to a balcony overlooking the lava river. The wheel here opens the final door to O. There's also a health potion by the wall. Continue down the southern corridor. You'll recognize the room you emerge into as C, and with the door open now you can drop down from the ledge and head to O.
- Point O — Dwarven Mechanical Giant

O: The mechanical giant is dead
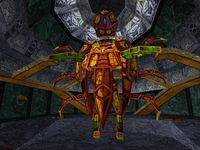
- You can collect four health potions on the way to this massive circular chamber. The dungeon's boss, a Dwarven mechanical giant, awaits you. Drop down the ledge and prepare for a fight. There are three piles of items: two health potions in the east, two health potions and a gold pouch to the north, and two gold pouches to the west.
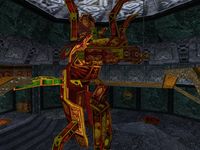
- Be extremely careful, as the automaton will instantly kill you if its mace hits (although you're safe on the ledge). Fortunately, it is quite slow at attacking. Try to stay between its legs and strike at its left heel. As long as you stay close to its body, it can't attack you. With six successful hits, it should topple into pieces and let loose a Dwarven gear, your reward for exploring these ruins. Once it's defeated, the south door opens and you can leave. You exit in the same courtyard you started in, but through a small door on the east side rather than the western main entrance.
Unused Dialogue[edit]
Cyrus has a second line recorded as a follow-up to his initial remark about the locked door, pointing you to J'ffer's Books:
- "That book on Dwarven lore back at the cat's shop might come in handy here."
- For more information, see the lore page.
- These Dwarven ruins also appear and are given the name Bthzark in ESO. Of note, one of the words Cyrus uses to unseal the entrance is "bthahhrk", which is quite similar to Bthzark.
- The ruins include a Dwarven Scarab. Dwarven Scarab schematics later appear in Morrowind, and the animunculi themselves reappear in ESO.
Gallery[edit]
-
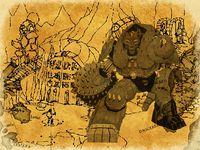
Location-specific loading screen, showing the Dwarven mechanical giant with the ruins in the background
